Hey Everybody,
So today my beautiful friend Lydia let me do her makeup. I decided that I would do a progression of pictures of the makeup process and describe what I did! 🙂
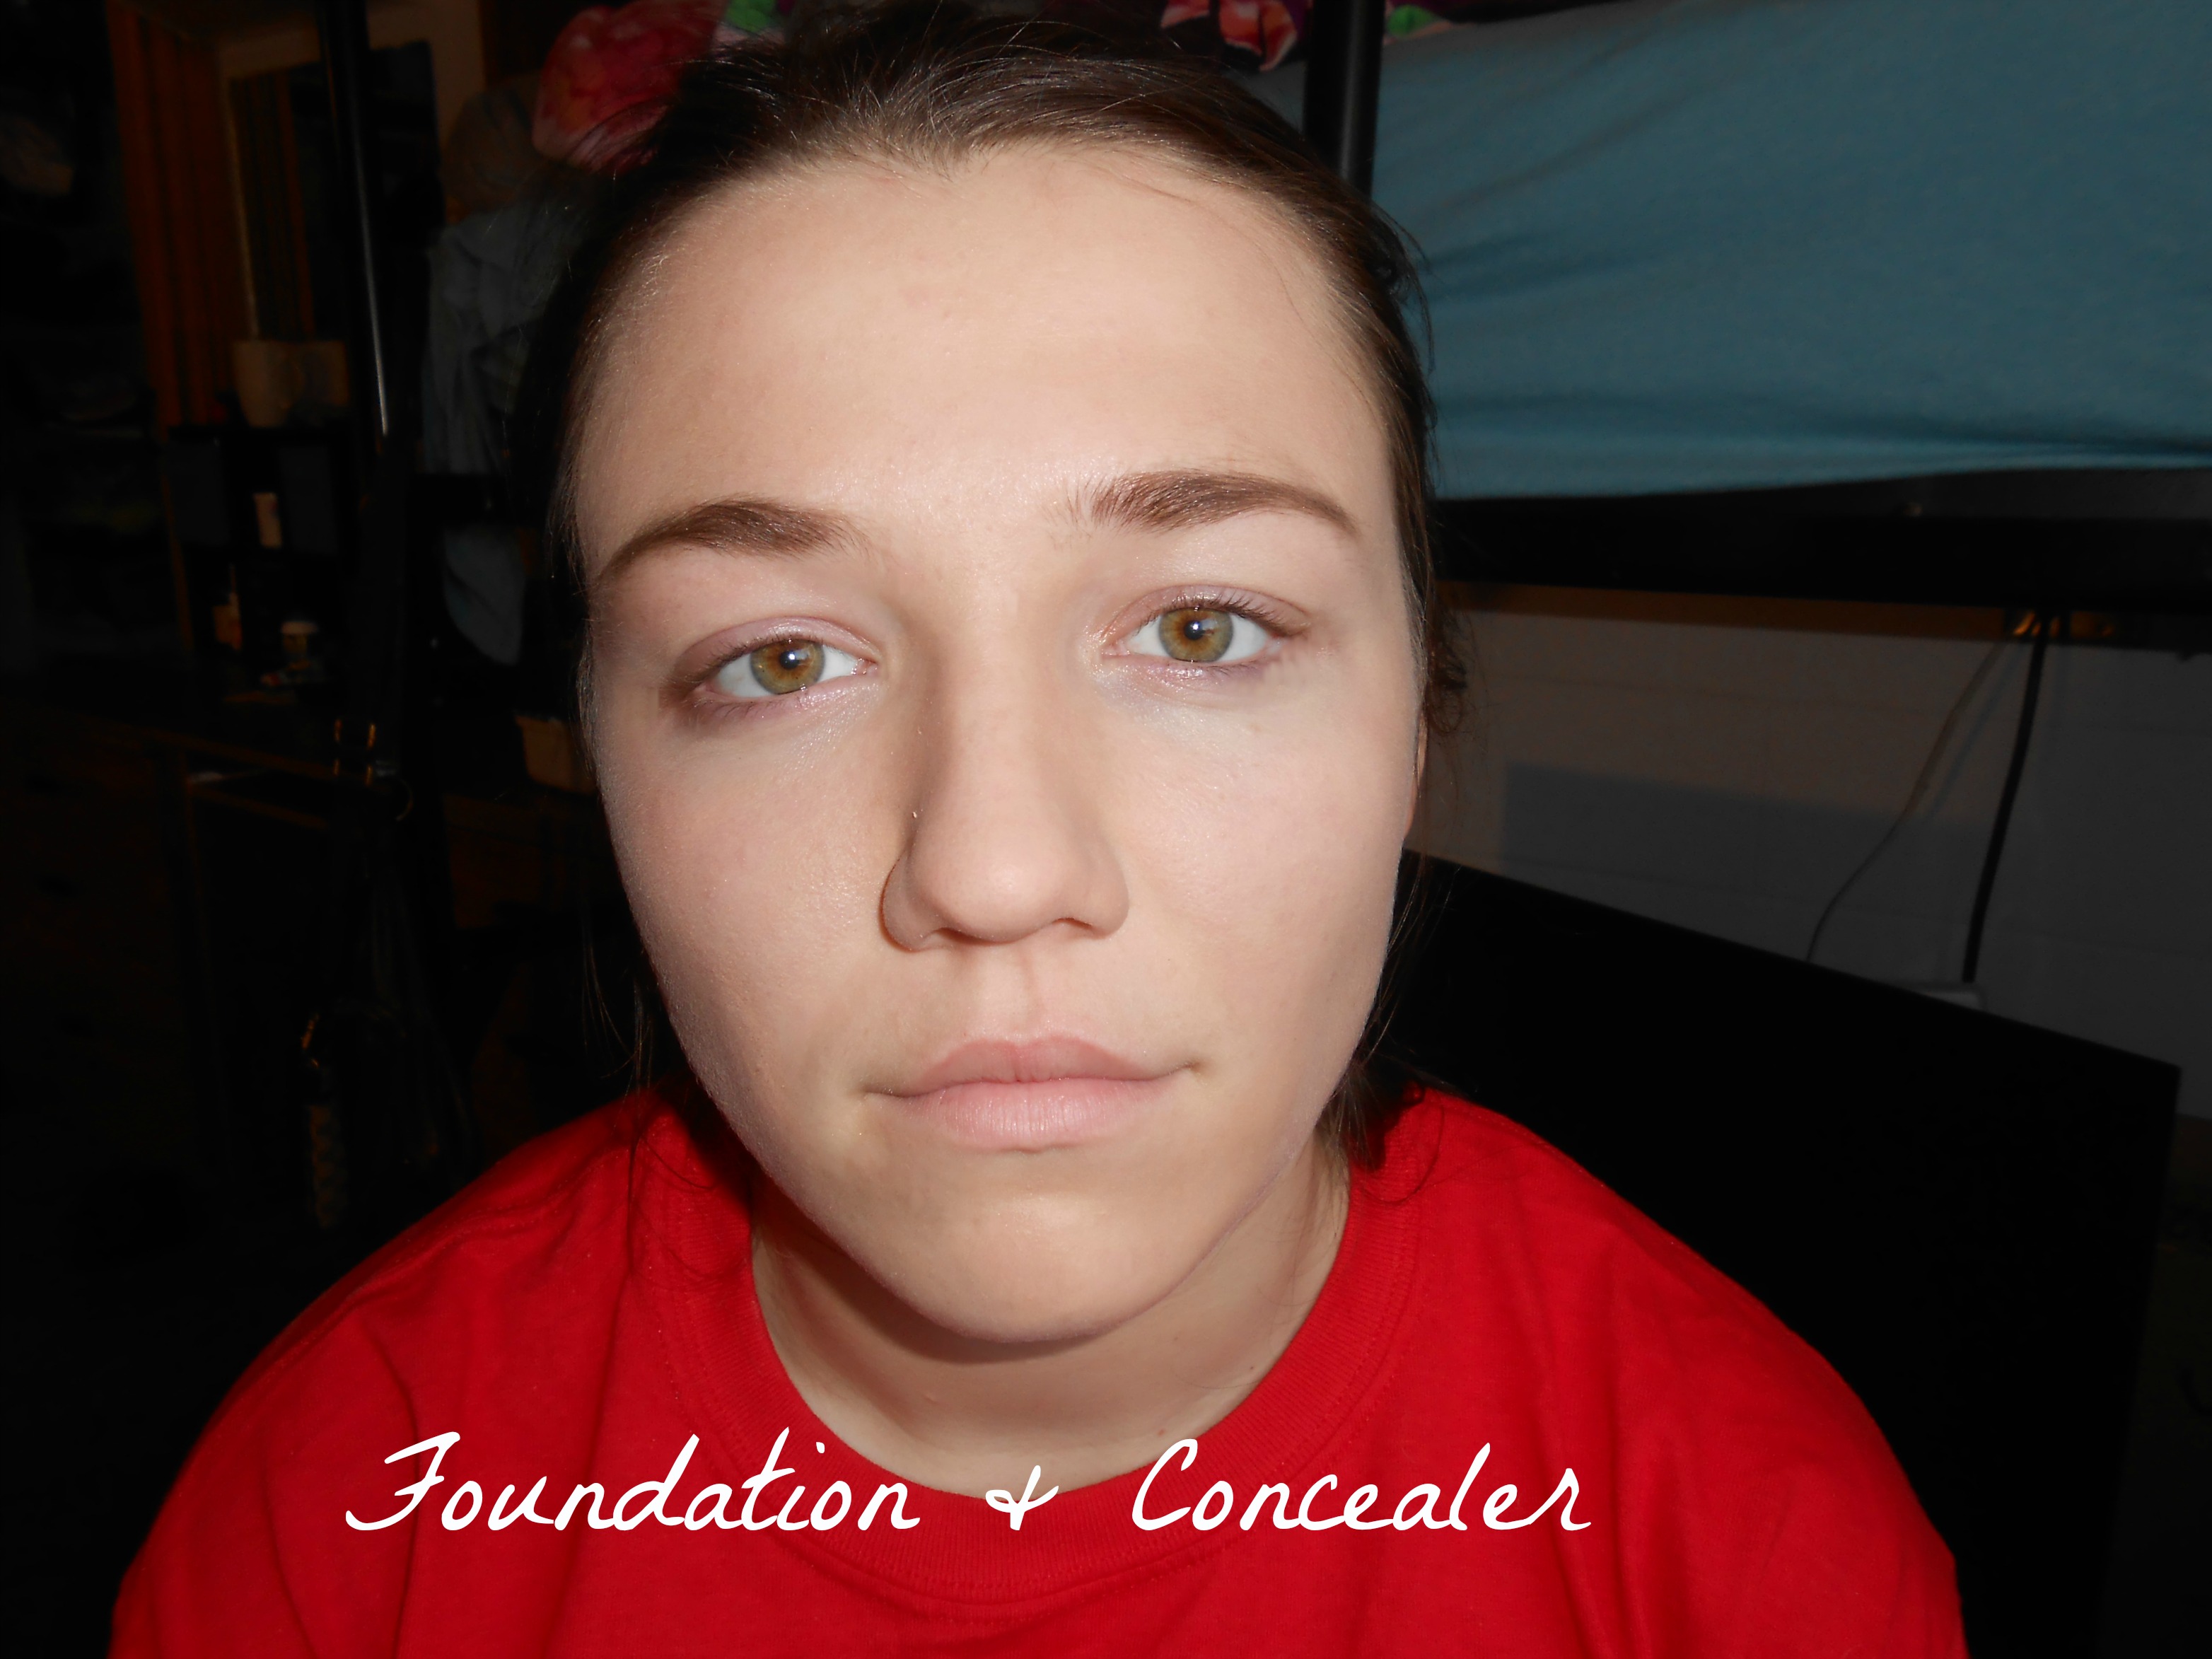 Step One: Foundation & Concealer
We just used Stila’s HD Beauty Balm, Lydia’s foundation, and Rimmel London’s Hide Blemish Concealor
 Step Two: Eye Shadow
We used a few colors from the Lorac Unzipped Pallet and the Too Faced Natural Eye Pallet to create a smokey, rose gold, eye look!
Colors used:
Brow Highlight: Heaven by Too Faced Inner Corner: Silk Teddy by Too Faced
Crease Color: Erotica by Too Faced Eyelid colors: Unreal, Undiscovered, & Unattainable by Lorac

Step Three: Blush and Bronzer
I contoured Lydia’s cheekbones with my “The Body Shop” Bronzing Powder in the color 01. You can’t really see it in the picture unfortunately. Also, I used Rimmel London’s 006 Autumn Catwalk Blendable Blush and Highlighter.
 I used a Loreal Paris liquid eyeliner to create a little bit of a cat eye for Lydia. I am terrible at using the actual brush the eyeliner comes with so I just used my Sonia Kashuk eyeliner brush.
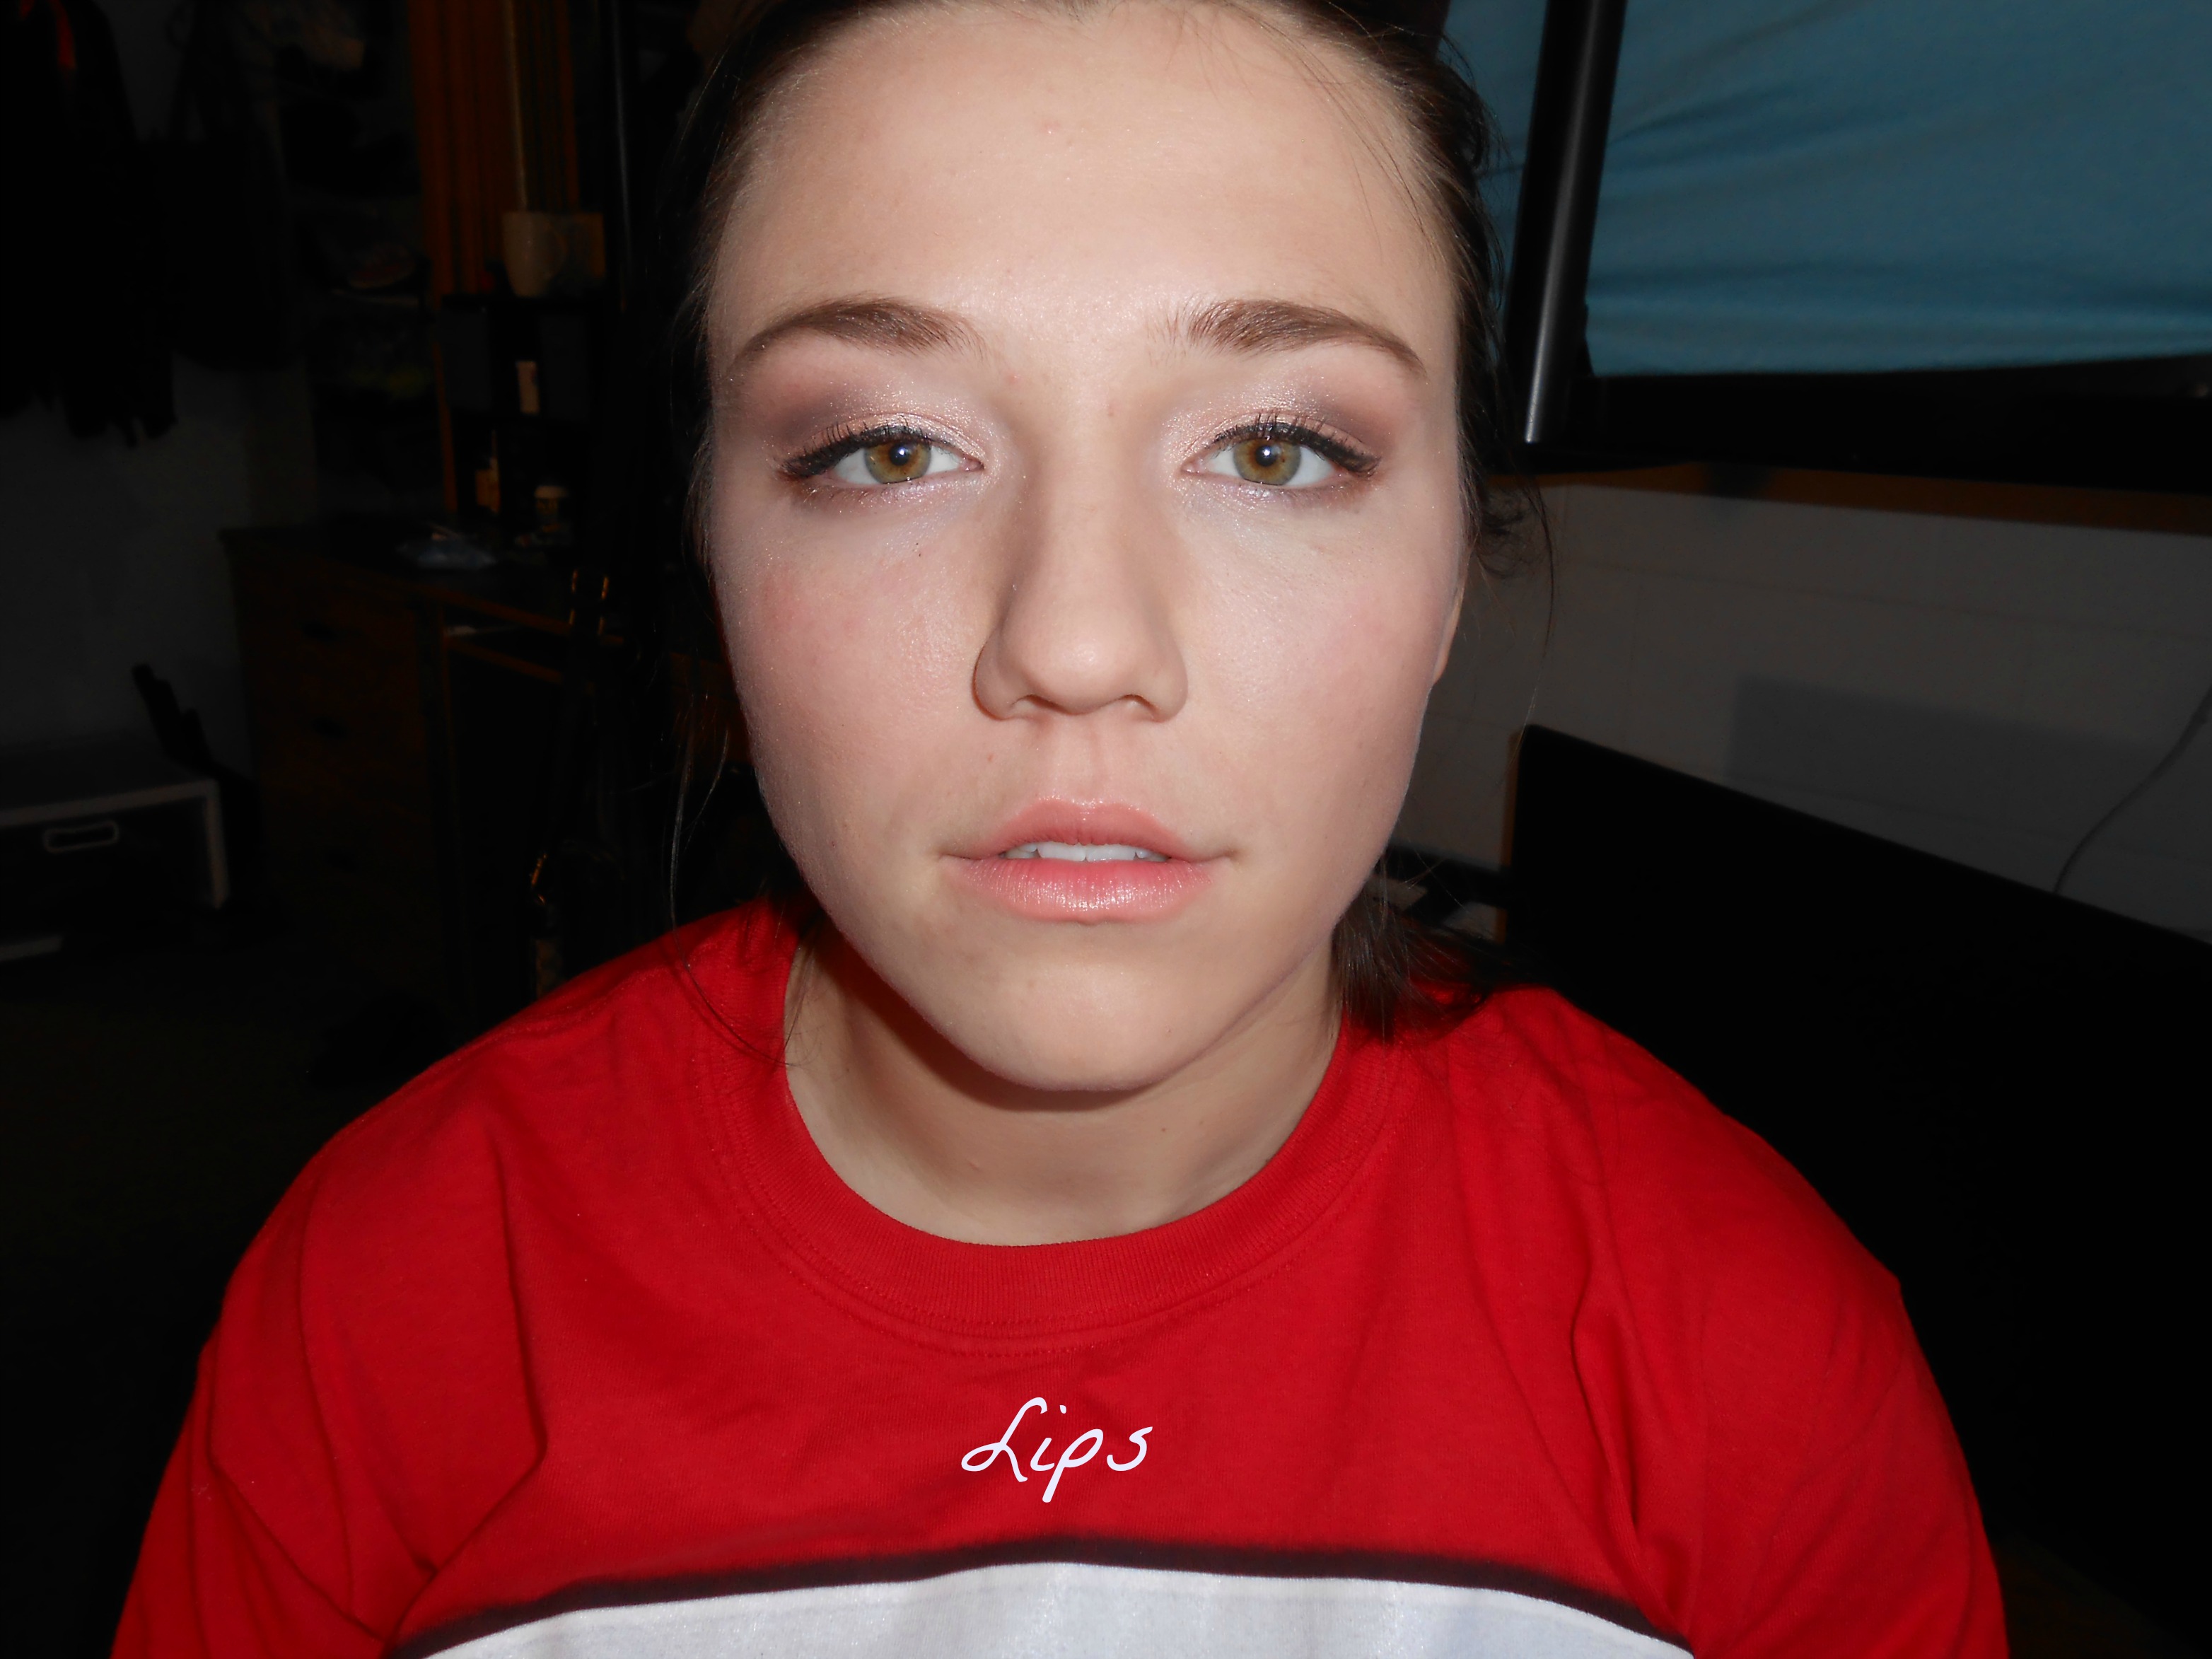 On Lydia’s lips I did a just bitten lip look that has been really popular makeup look for the Fall and Winter. Her base lip color is Revlon’s Colorburst Lipstick in the color 070 Soft Nude. The reddish color in the center of her to create the “bitten” look is Revlon’s Just Bitten Kissable 045 Romantic, and I applied it with my Sonia Kashuk lip brush.

I also did her nails for her! 🙂

Here is the finished look! 🙂 I hope you enjoyed this little makeup tutorial! Stay tuned for more beauty/fashion related videos! 🙂